Pennsylvania’s Floor Coating Experts. Durable. Slip-Resistant. Installed in One Day [Get Free Quote]

Moisture coming up through a concrete slab is the single most common hidden cause of a floor coating failing within the first couple of years, and it is also the step most likely to get skipped, because it costs extra time and the floor looks perfectly fine on install day regardless of whether the test was run. This article covers what a real moisture test actually involves, and why skipping it is such a common shortcut.
Concrete is porous, and even a slab that looks and feels completely dry on the surface can be pushing water vapor up from underneath, driven by groundwater, soil moisture, or simply the slab still releasing water left over from when it was originally poured, which can continue for a surprisingly long time in a thick slab. A coating applied over a slab with high vapor emission traps that moisture underneath it, and trapped moisture is exactly what causes bubbling, delamination, and a milky white haze visible through the coating a few months or a year later. None of this is visible on install day. It shows up afterward, which is exactly why it gets skipped by installers focused on a fast turnaround rather than a floor that holds up long term.
The accepted industry standard for measuring this is ASTM F2170, an in situ relative humidity test. A hole is drilled into the slab to a specific depth, typically 40 percent of the slab’s thickness when only one side is exposed to open air, the hole is cleaned of dust, and a small electronic humidity and temperature probe is sealed inside it. The probe needs time to equilibrate with the actual conditions inside the concrete, often the better part of an hour or longer, before the reading is considered accurate. The standard also specifies testing density: a minimum of three probes for the first 1,000 square feet of floor, with an additional probe for every additional 1,000 square feet beyond that, rather than a single reading assumed to represent an entire floor.
That last detail matters more than it sounds. Moisture conditions are not always uniform across a single slab, especially in larger spaces or older construction, which is exactly why the standard calls for multiple readings rather than one spot check treated as representative of the whole floor. A single probe placed in a convenient, easy-to-access corner of a garage can read completely differently than a probe placed near an exterior wall or over a known damp spot in the yard outside, which is exactly the kind of variation a single-reading shortcut would miss entirely.
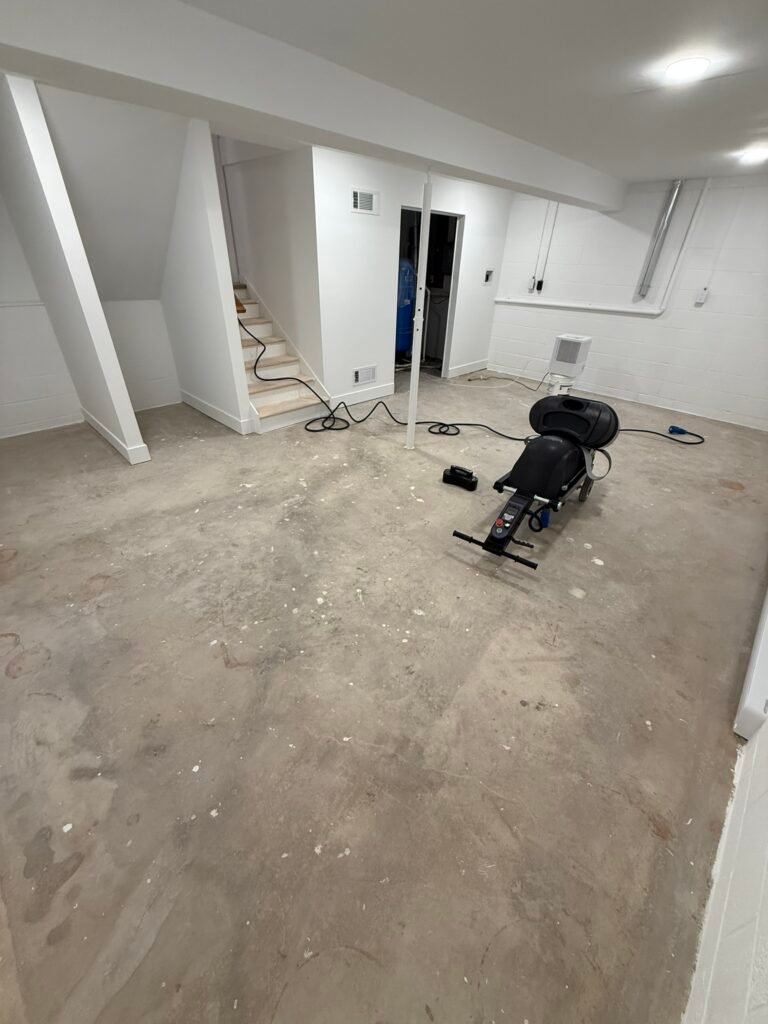
That demonstrates the general in situ probe method: drilling to the correct depth, cleaning the hole, sealing in the probe, and waiting for an accurate equilibrated reading rather than a rushed one.
A calcium chloride test, which measures how much moisture a sealed dish of calcium chloride absorbs from the surface over a set period, is cheaper and faster than an in situ probe, but it only measures moisture emission from the top layer of the slab rather than conditions deeper inside it, which makes it less representative for a slab with uneven internal moisture. An even cruder method, taping a sheet of plastic to the concrete overnight and checking for condensation the next morning, gives a rough yes-or-no answer at best and no quantified number at all. Both are sometimes used as a quick gut check, but neither replaces an actual ASTM F2170 reading when the result is genuinely uncertain.
There is also a cost and time tradeoff behind why these shortcuts get used. A proper in situ probe test needs the better part of a day to equilibrate accurately, plus the cost of the probes themselves, which are typically a single-use component. A calcium chloride test takes roughly sixty to seventy-two hours to get a result and does not require drilling into the slab, which makes it the faster, cheaper option for a contractor trying to move from walkthrough to installation in the shortest possible timeframe. The tradeoff is accuracy specifically on slabs where moisture is uneven at different depths, which an in situ probe is built to catch and a surface-level test is not.
The pattern is predictable once you have seen it enough times. A floor gets coated, looks great for the first several months, and then small bubbles start appearing, usually first in the areas of the slab closest to an exterior wall or a known low spot in the yard outside where water tends to collect after rain. Those bubbles are trapped vapor pushing the coating up from underneath, and once they start, more keep appearing over the following months as the moisture pressure continues. By the time a homeowner calls about it, the only real fix is grinding off the failed coating entirely, which means paying for the same floor twice, once for the failed installation and again for the proper one with moisture mitigation actually addressed.
This is also why a moisture-related failure is one of the harder warranty claims to resolve cleanly between a homeowner and an installer who skipped testing. Without a documented reading taken before installation, there is no clear record of whether the moisture condition was present and ignored, or developed afterward for an unrelated reason, which tends to leave the homeowner arguing a case they cannot fully prove either way.
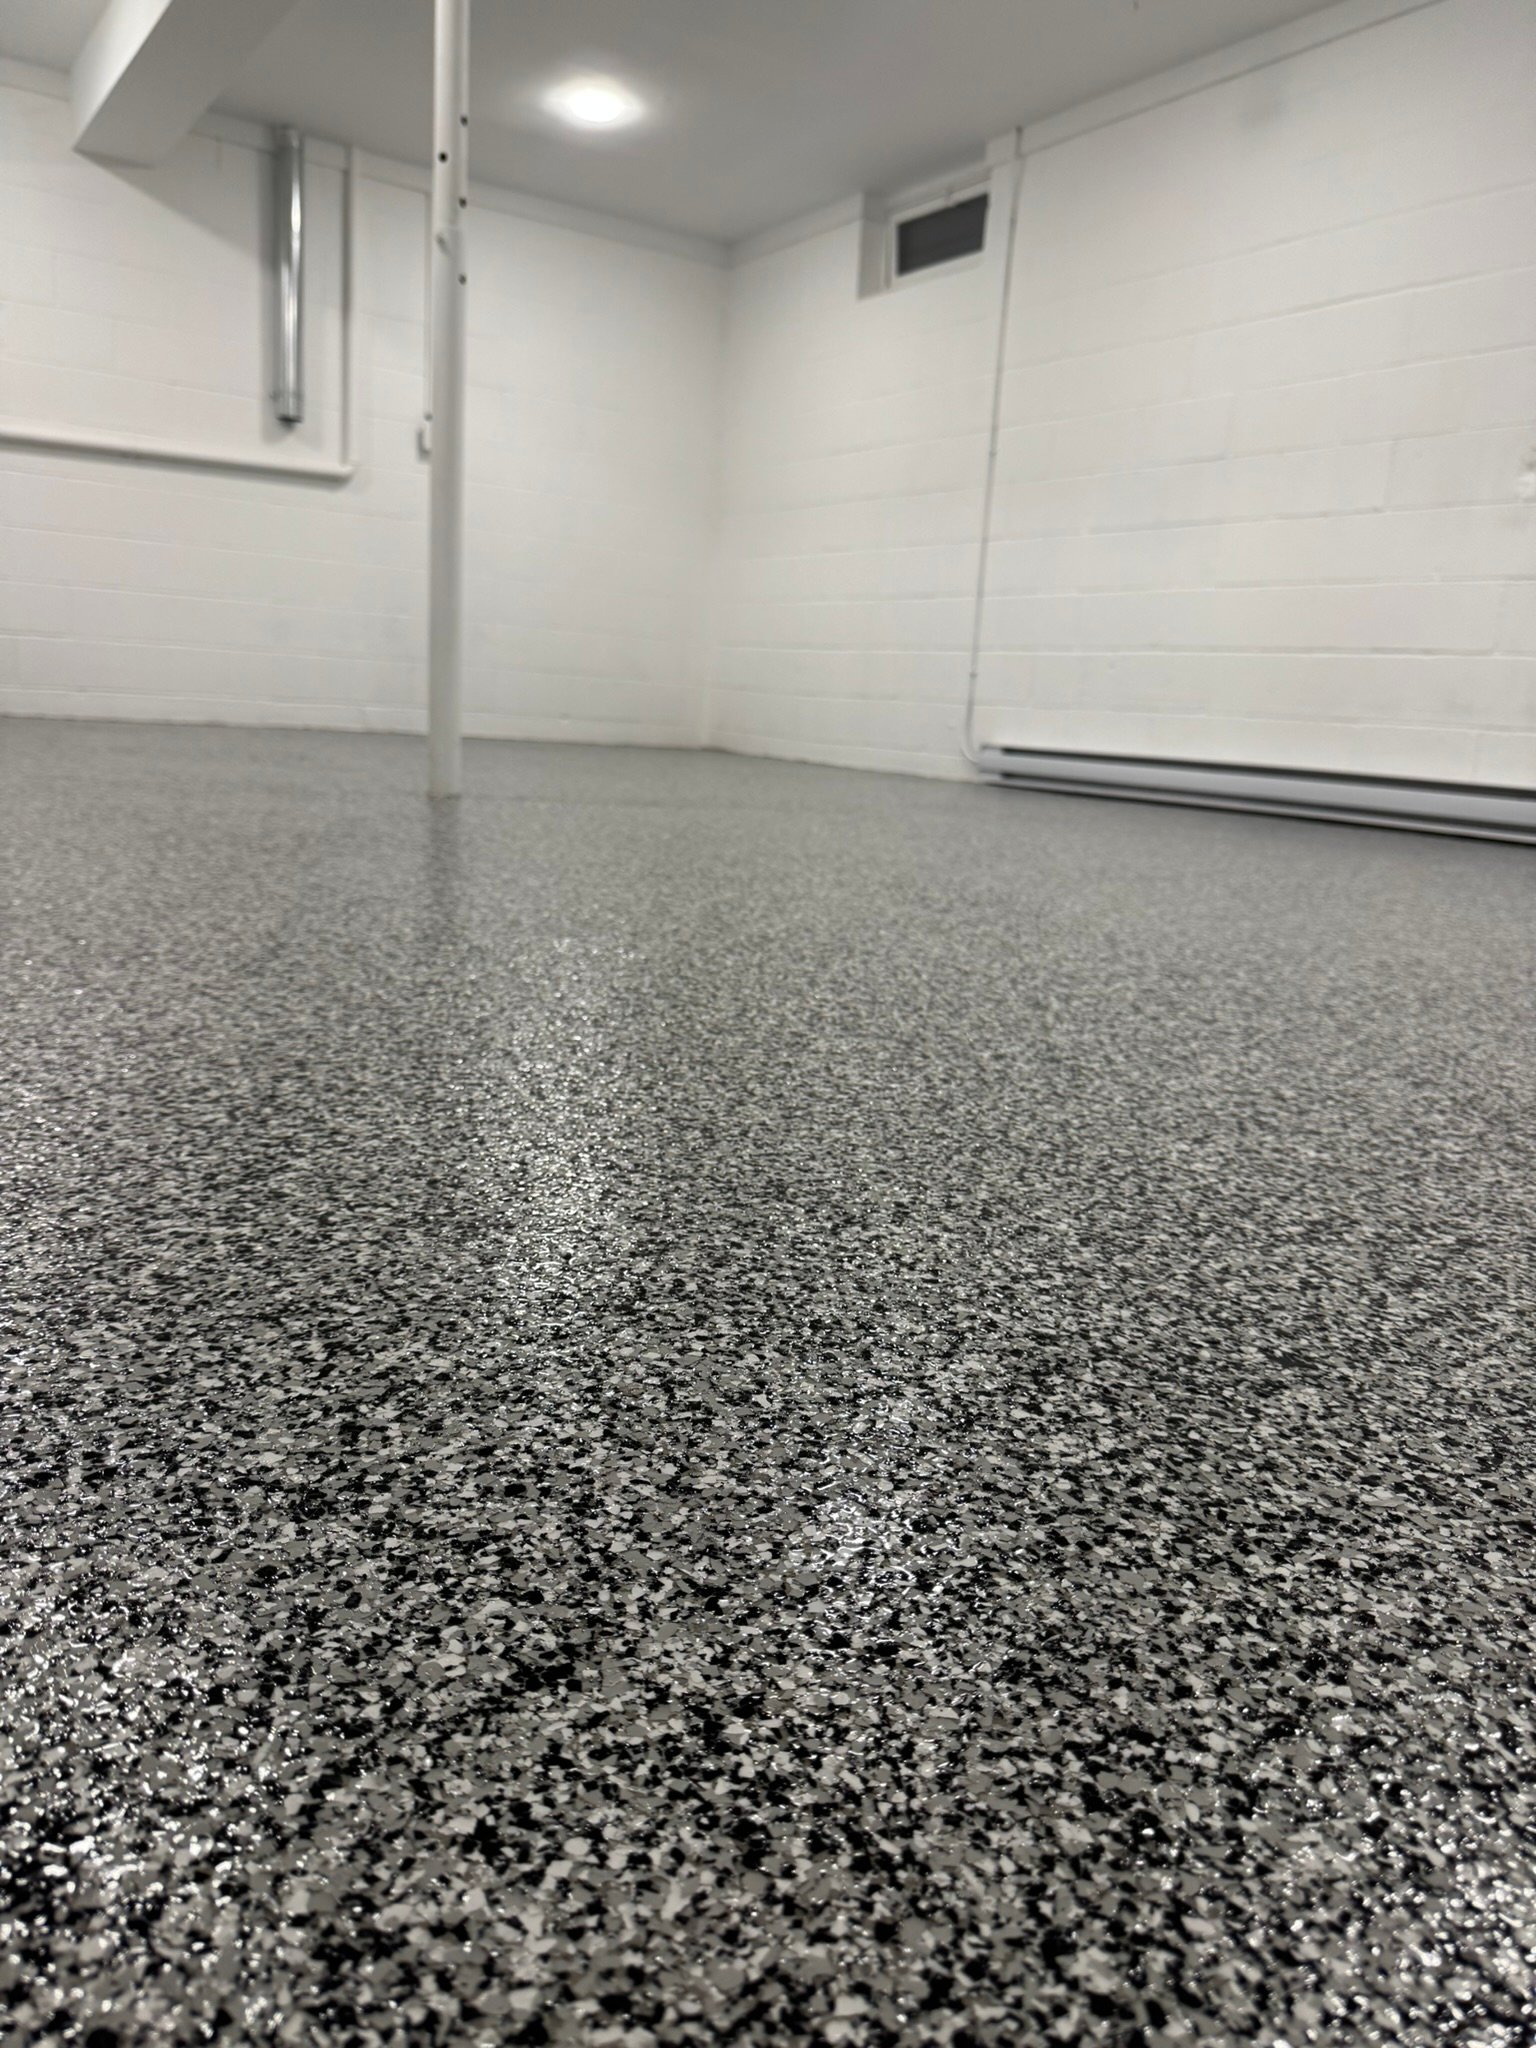
Basements are where this consideration comes up most often, since they sit below grade and deal with far more consistent ground moisture exposure than a garage slab ever does. On basement projects, including jobs like our Manheim basement project, checking moisture conditions before committing to a coating system is a standard part of how we approach the job, not an optional add-on. When a slab shows elevated readings, the fix is a moisture-mitigating primer formulated specifically to block vapor transmission before the standard base coat and topcoat go down, rather than skipping straight to color and flake and hoping for the best.
We are not going to claim every floor needs a full battery of probes before we will touch it. A clean, well-draining garage slab with no history of water issues is a lower-risk scenario than a below-grade basement, and we adjust how much testing we do based on that real risk, not a rigid checklist applied the same way everywhere. Our honest opinion, formed from having fixed more than one basement floor that failed specifically because moisture was never checked the first time around, is that skipping this step entirely to save an hour of labor is one of the more common ways a coating company trades a fast install for a customer’s floor failing eighteen months later. We would rather spend the extra time up front and stand behind the floor afterward.
If your project involves a basement, a slab-on-grade with a known history of dampness, or any space where moisture has been a concern before, ask directly whether the installer tests for moisture vapor before coating and what method they use. A company that brings this up unprompted is telling you something different than one that only mentions it after you ask. You can see how we handle basement-specific conditions on our basement floor coating page, or request a free estimate and ask us about your specific slab directly.
Not necessarily every single one, but it is worth doing on any slab with a history of dampness, visible efflorescence (a white powdery mineral deposit), or any below-grade exposure. A dry, well-draining attached garage is lower risk, though we still check rather than assume.
The probes typically need close to 24 hours to fully equilibrate for the most accurate reading, though usable readings often stabilize sooner. This is part of why the test gets skipped on jobs trying to move fast from quote to finished floor in a single visit.
A moisture-mitigating primer, specifically formulated to block vapor transmission, gets applied before the standard base coat. This adds a step and some material cost but is far cheaper than redoing an entire failed floor later.
A simple plastic sheet test overnight can give you a rough early warning sign, but it is not a substitute for a proper test if you are already planning a real installation. Mention any dampness history to whoever quotes the job either way.
Basements are the highest-risk scenario since they are below grade, but any slab-on-grade can have elevated moisture depending on the water table, drainage, and how the original concrete was placed, which is why we check rather than assume based on location alone.