Pennsylvania’s Floor Coating Experts. Durable. Slip-Resistant. Installed in One Day [Get Free Quote]

Almost every company quoting a floor coating job will tell you they grind the concrete. Almost none of them will tell you to what profile. That missing number is the difference between marketing language and an actual, measurable standard, and it is the single most important technical detail in the entire installation that most homeowners never hear about.
The International Concrete Repair Institute, usually referred to as ICRI, publishes a standard called Technical Guideline 310.2R that defines ten grades of surface roughness, numbered CSP 1 through CSP 10. CSP 1 is nearly flat, the kind of surface you get from a light acid wash. CSP 10 is very rough, with texture deep enough to see and feel without touching the surface at all. ICRI sells a set of ten molded rubber comparator chips, each one replicating a specific profile, so an inspector can lay a chip next to a prepared floor and compare texture directly, by sight and by touch, to confirm which number the surface actually is.
This is not an abstract industry detail. It is a real, physical, checkable standard, which is exactly why a contractor who actually grinds to spec will not hesitate to tell you the number, and a contractor using the word grinding loosely will usually change the subject when you ask. The standard exists specifically because surface prep used to be judged by eye alone, which left too much room for shortcuts that only became obvious once a coating started failing months or years later.
Different surface preparation methods land in different parts of the CSP scale. Acid etching barely moves the needle, landing around CSP 1, which is part of why acid-etched floors bond so poorly. Diamond grinding, done correctly, reaches CSP 1 through 3 depending on the grit sequence used, and CSP 2 to 3 is generally the target range for a polyaspartic flake system, since it is rough enough to give the base coat real mechanical anchor points without being so aggressive that it telegraphs through the finished flake texture.
The process itself typically starts with a coarse grit, in the 30 to 40 range, to strip away the old coating, laitance, and any high spots in the slab. The second pass switches to a medium grit, usually in the 80 to 120 range, which is what actually dials in the final profile the coating will bond to. Skipping straight to a fine grit, or stopping after only the coarse pass, is a common shortcut that leaves a surface that looks ground but is not actually profiled correctly underneath.
That video shows the diamond grinding process in practice, coarse pass followed by a finer pass, which is the same sequence we run on every job regardless of whether the slab is a quiet residential garage or a working commercial space.
ICRI’s guideline associates each CSP number with specific prep methods, which is useful context for understanding why grinding is the standard choice for residential and light commercial flake floors rather than the more aggressive alternatives used elsewhere in the concrete industry. Light shotblasting and light scarification generally land in a similar low-to-mid range as grinding, which is why some commercial contractors use them interchangeably for flooring prep. Heavier methods, medium to heavy scarification, abrasive blasting, or a handheld concrete breaker, push the profile up toward CSP 6 through 10, which is appropriate for thick structural overlays and industrial repair mortars, not a thin polyaspartic flake system.
This matters because a rougher surface is not automatically a better one for this specific application. A profile that is too aggressive for a flake system can telegraph through the finish, create an uneven base coat thickness, and actually waste material trying to fill in texture that is deeper than the system was designed to level out. The right profile is a specific, moderate target, not simply the roughest surface a machine can produce.
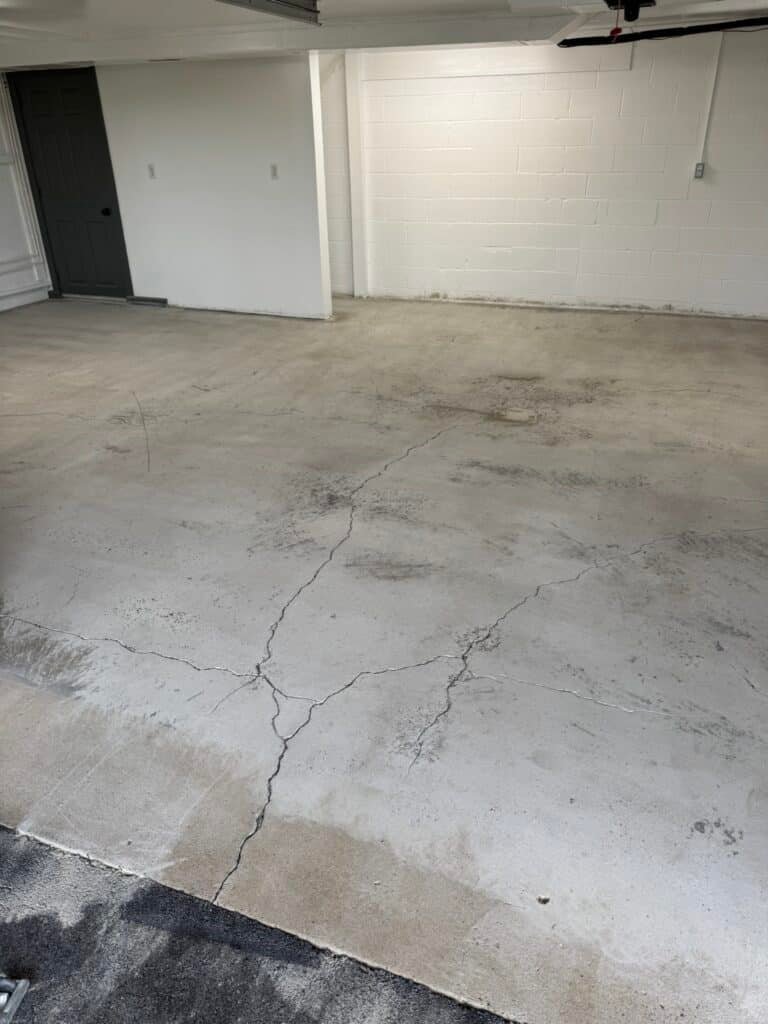
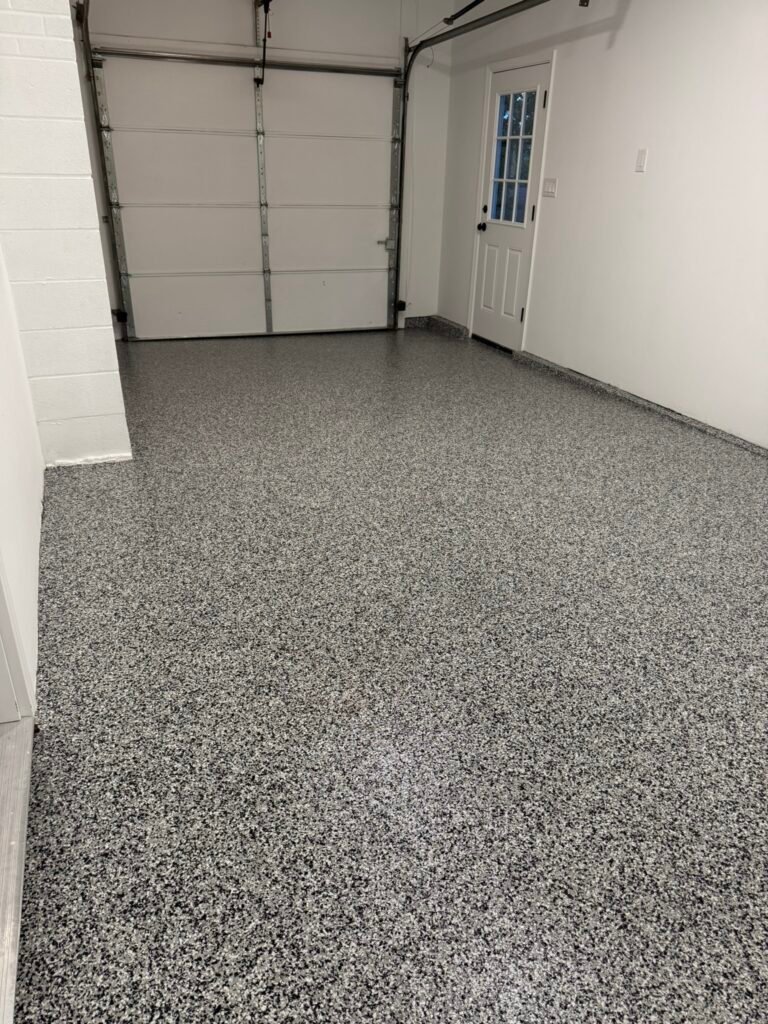
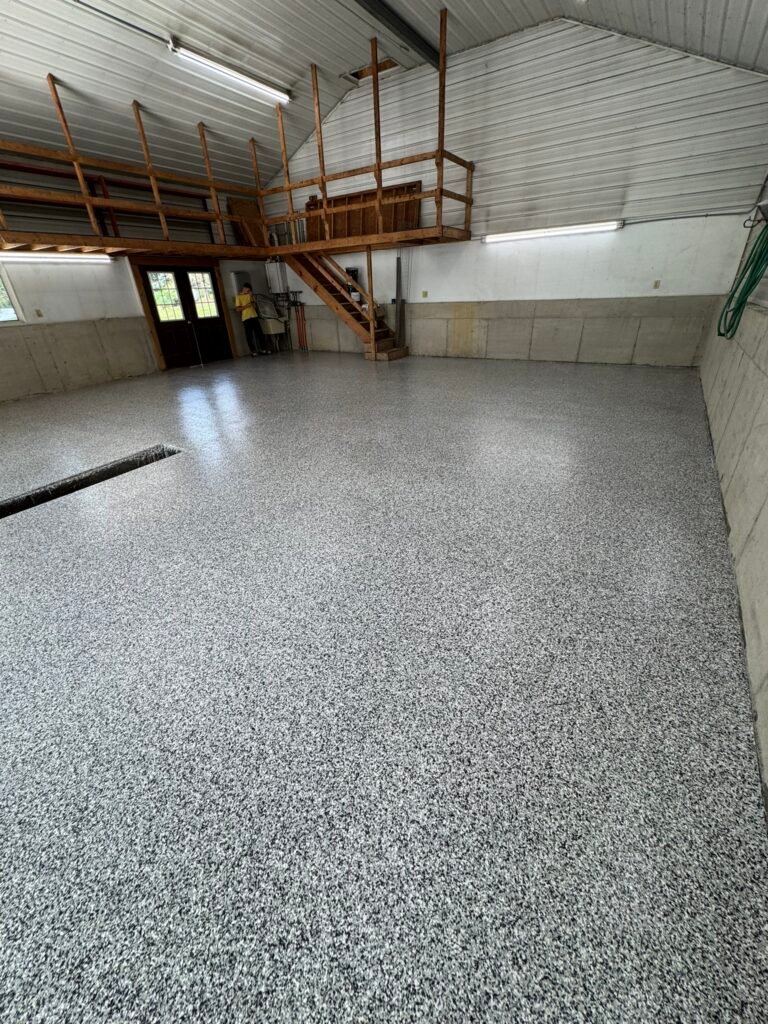
One of our own projects in Mount Joy, Pennsylvania is a good illustration of why the profile step matters beyond just a general bonding surface. The slab had visible cracking that needed to be routed and filled with a flexible polyurea crack filler before grinding could even start. Grinding after the crack repair accomplished two things at once: it brought the entire slab, repaired sections included, to the same consistent CSP 2 to 3 profile, and it blended the texture at the repair site into the surrounding concrete so the final flake coating bonded and looked uniform across the whole floor, repair included. You can see the finished result in our Mount Joy project writeup.
If the crew had skipped straight to coating without properly grinding the repaired section to match the rest of the slab’s profile, the repair site would have bonded differently than the surrounding concrete, which is exactly the kind of inconsistency that shows up as an uneven wear pattern a few years down the road.
We are not going to pretend every contractor who skips the CSP conversation is doing bad work. Plenty of competent installers grind correctly and simply never learned to explain it in these terms to a homeowner. But we have also seen, more than once, a previous installer’s failed floor where the coating peeled in sheets because the surface underneath was barely roughened at all, closer to CSP 1 than the 2 to 3 a flake system actually needs. Our opinion, formed from fixing those floors as much as from installing new ones, is simple: if a contractor cannot tell you what profile they target and how they verify it, they are telling you, indirectly, that they are not actually checking.
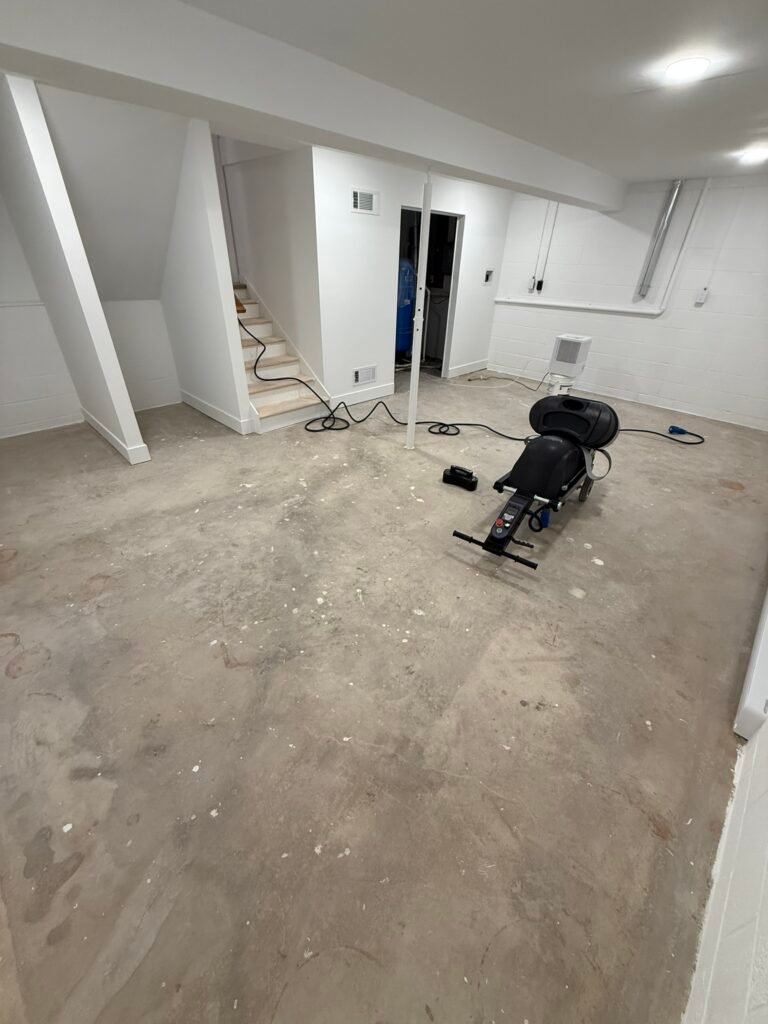
We check every slab with the same two-pass grinding sequence regardless of how the concrete looks walking in, because a slab that looks clean can still be sealed with old laitance, and a slab that looks rough is not automatically at the right profile either. The only way to know is to grind it correctly and check the result, not guess from how it looks.
You do not need to own a set of ICRI comparator chips to ask the right question. Simply ask any contractor quoting your floor: what grit sequence do you run, and what CSP range does that typically land at for a flake system. A real answer sounds specific, something like starting coarse to strip the old surface and finishing in the medium range to hit a CSP 2 to 3 profile. A vague answer, something like we just grind it good, is worth following up on before you book anything.
It is also reasonable to ask whether the grinder they use has vacuum dust collection attached, since that is a quick tell for whether a company has invested in proper commercial-grade equipment or is running a smaller, lighter-duty machine not really built for full surface profiling. A heavier, properly equipped grinder covers more ground evenly and is far less likely to leave inconsistent patches of profile across a single floor. You can see our own approach described in more detail on our garage floor coating page, or request a free estimate and ask us directly.
You can get a rough sense by feel, a properly ground CSP 2 to 3 surface has a slightly rough, sandpaper-like texture rather than feeling glassy smooth or dusty. A true verification requires an ICRI comparator chip, which most homeowners will not have on hand, but the texture test is a reasonable gut check.
No. Higher numbers are for different applications, like thick industrial overlays, not a thin flake system. For a residential or light commercial polyaspartic flake floor, CSP 2 to 3 is the actual target, not the highest number on the scale.
Acid etching is a chemical process that mildly roughens the very top of the surface without removing the weak laitance layer underneath it, which is why it generally stays close to CSP 1 regardless of how long the acid sits on the concrete.
For a standard polyaspartic flake system, yes, CSP 2 to 3 is the consistent target across residential and most commercial jobs. Thicker or specialty overlay systems sometimes call for a different, usually rougher, profile.
Grinding generates dust, which is why professional equipment is paired with vacuum dust collection attached directly to the grinder, rather than letting dust spread through the work area or the rest of the house.